Log in to CMS | Accessing profile | Saving + Undoing (A) | List of contents (B) | Editing contents (C) | Settings (D) | Photo | Files
If you are having issues updating your profile (could be UBC’s site’s problem, not yours), you can always email Carl to update it for you.
1
Do you have a UBC CMS account? (Most of you do)
If you had been editing your profile, then YES. Go to section 4
If you are unsure, go to section 2
2
- Go to CMS.UBC.CA
- If it says “CMS Sign out,” you are already logged in
- Go to section 4

If you are NOT logged in, Click CMS Sign IN
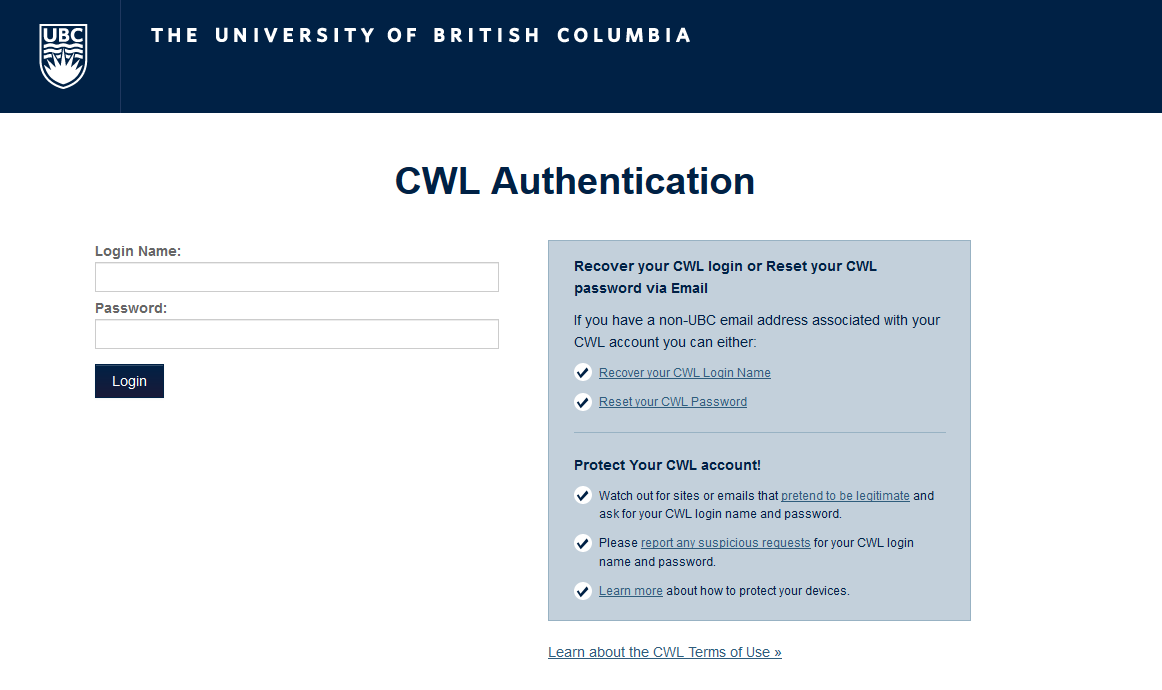
- If the button now says CMS Sign OUT, then go to section 4
- If the page tell you you don’t have an account, go to section 3
3
Just a handful of you don’t have a CMS account yet, (you need this to access editing of your page, the system will tell you after you try to log in). If that is the case, go back to this page https://cms.ubc.ca to create a CMS account with your CWL (click login underneath “New user“) and follow on-screen instructions. Please email carl.luk@ubc.ca when you are done and I will set up the EDST side for you.
4
Access to profile / Overview
- You may have jumped to a dashboard automatically. If that’s the case, ignore 4b and 4c.
- on the left, click Posts, All Posts

- there is probably only a single post, with your name on it
- click the post
- If 4a didn’t happen, go to https://edst.educ.ubc.ca/people/faculty/
and click on your profile page
then click Edit Page on the top black bar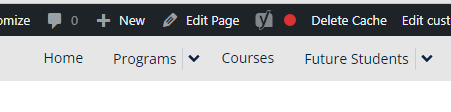
If you don’t see the black bar, refresh the page on your browser - If 4a or 4b doesn’t work for you, go to https://edst.educ.ubc.ca/wp-admin
- on the left, click Posts, All Posts
- there is probably only a single post, with your name on it
- click the post
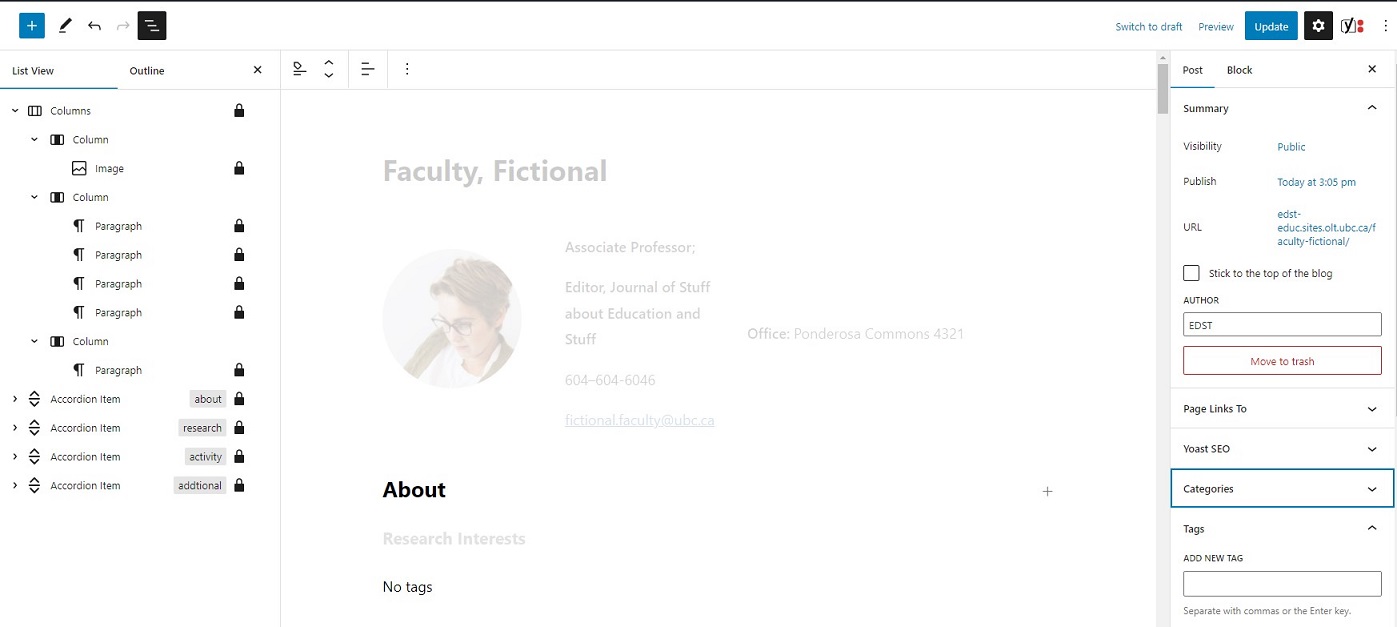
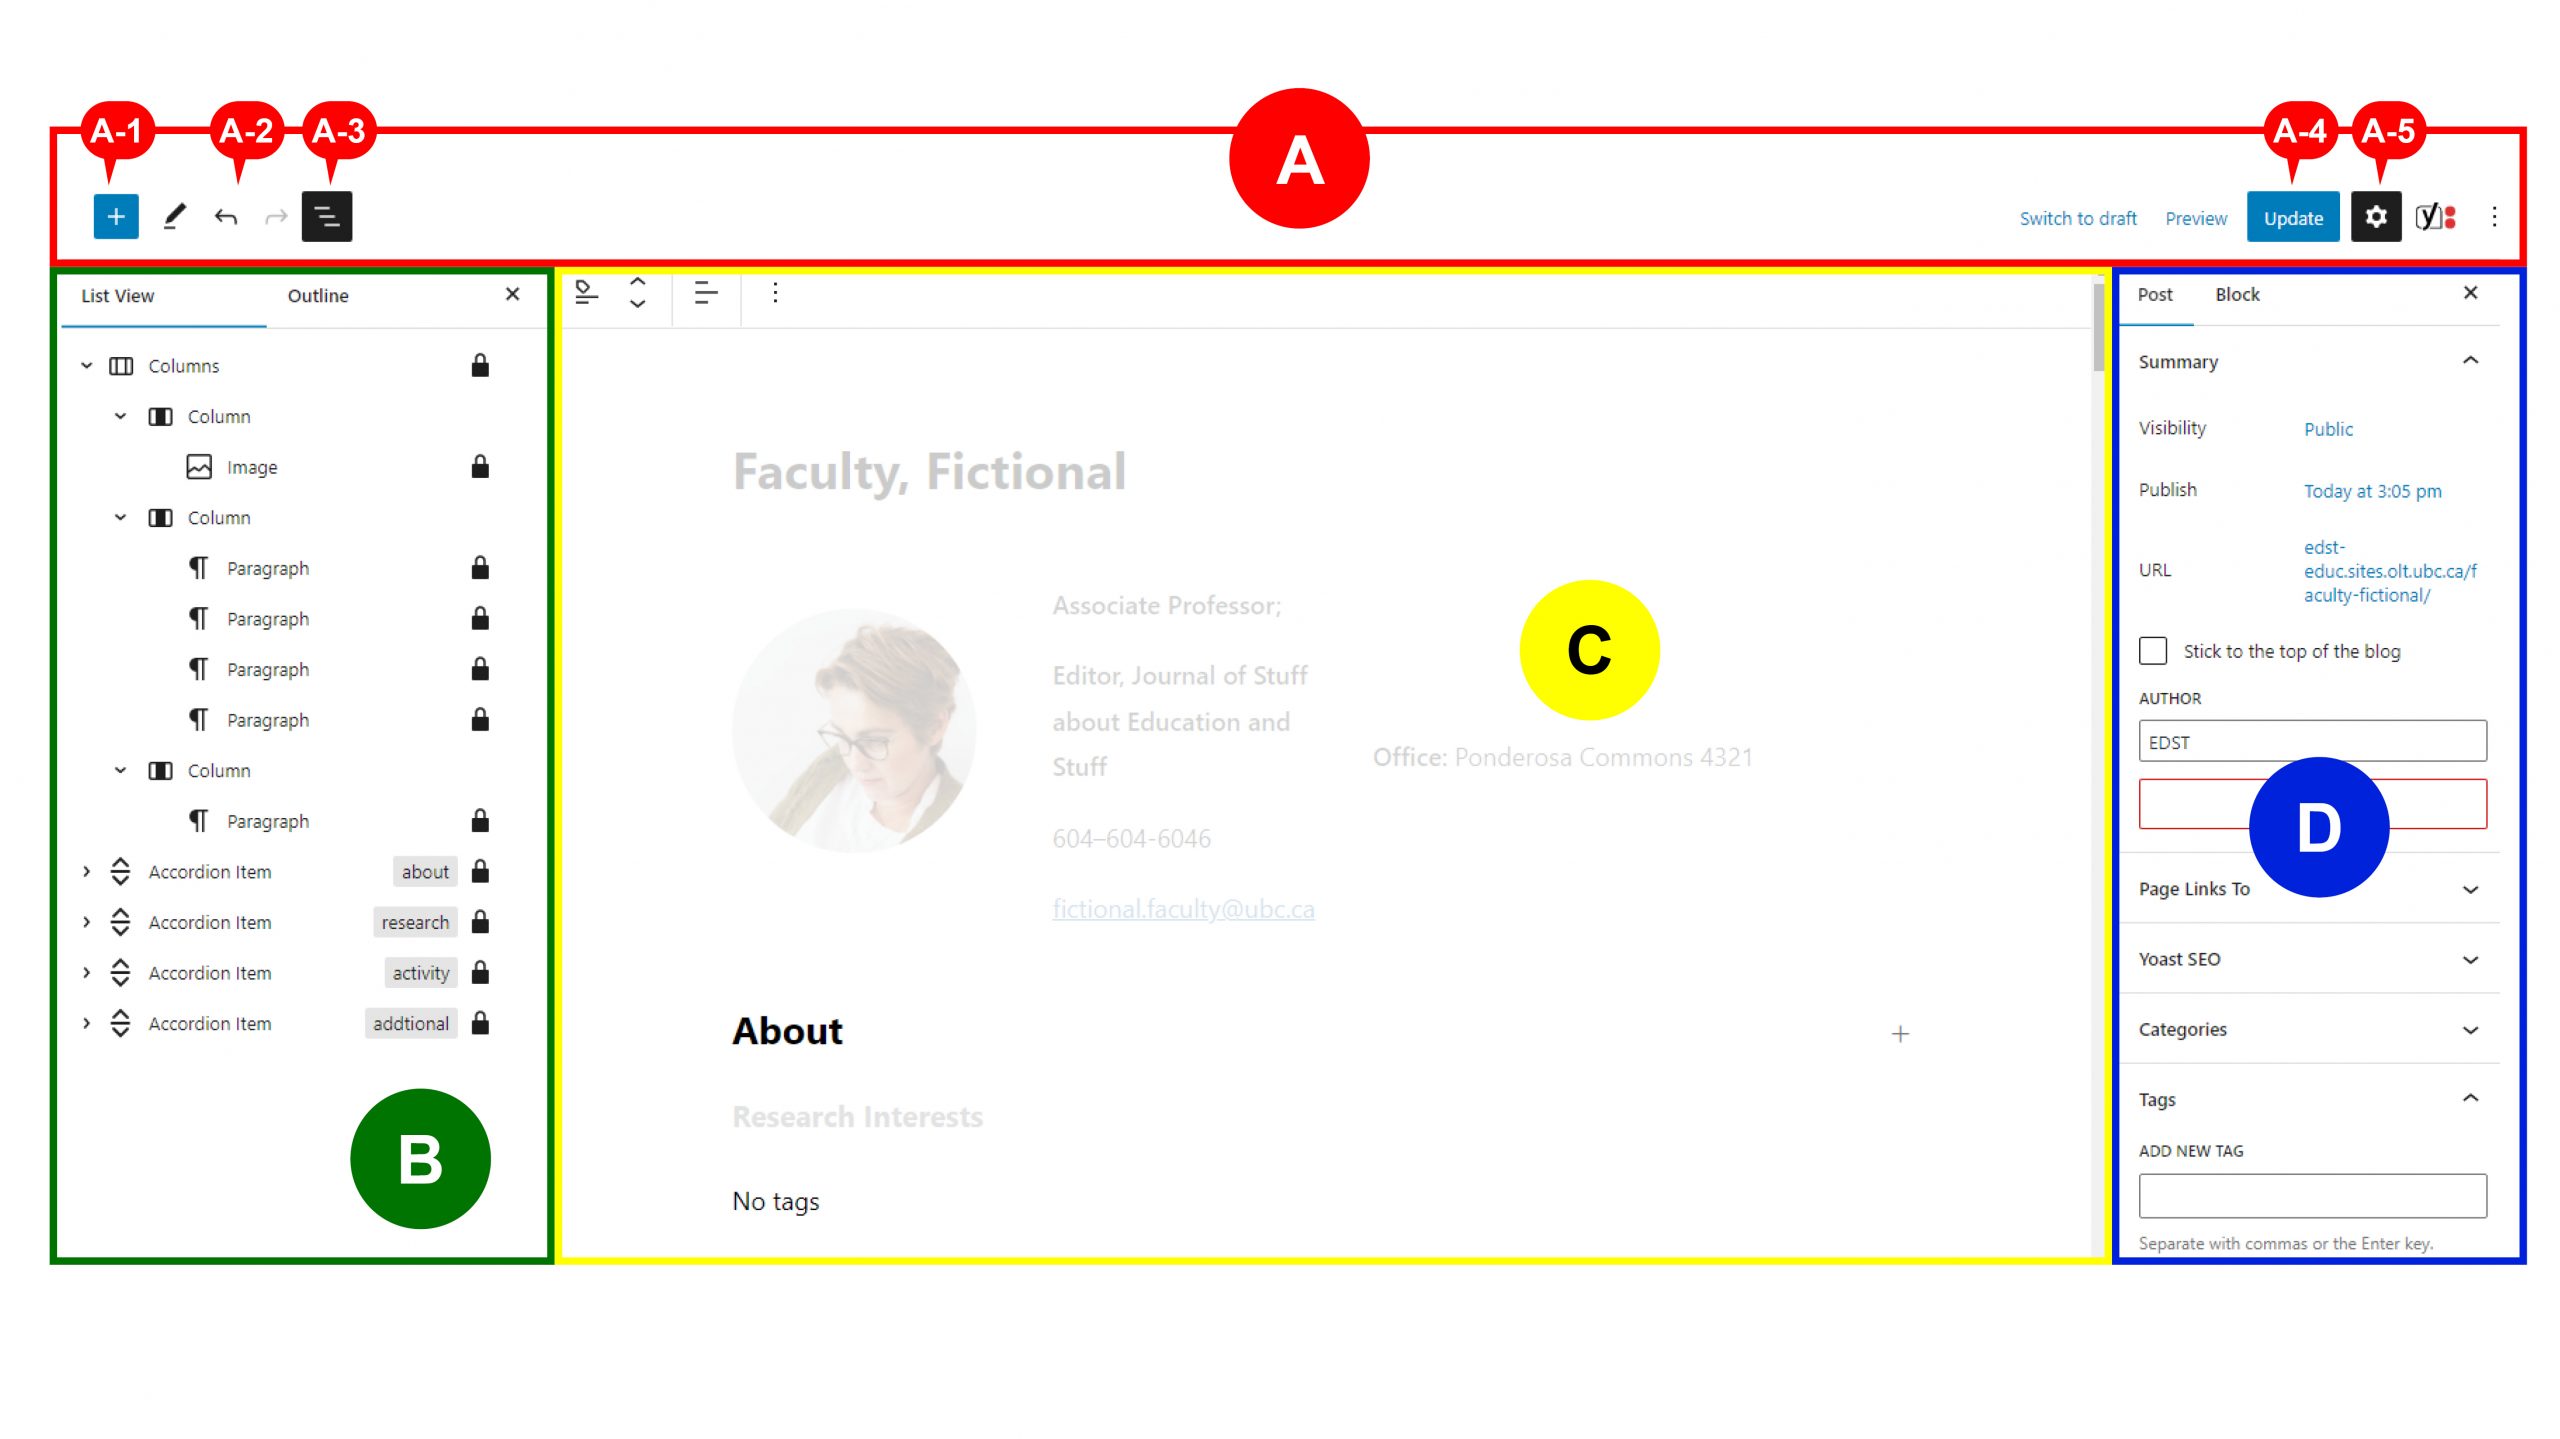
- Using this sample page as an example, you will see something similar
- Area A is where you “Save” the work, and select viewing options (to be explained in section 5)
- Area B is where you select the specific item you want to edit (more in section 6)
- Area C corresponds to Area B. You can edit the text here (more in section 6)
- Area D is the settings of the profile page. Don’t worry about it too much (more in section 7)
5
Area A (top)
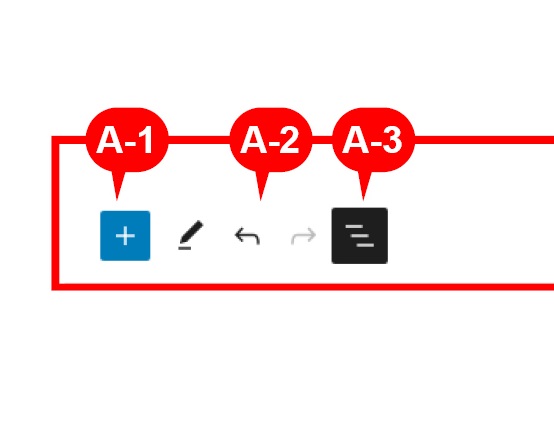
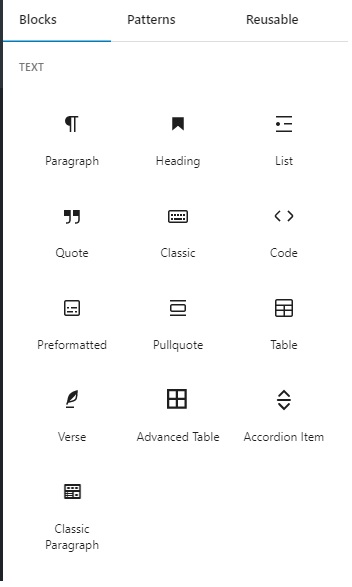
- A-1 adds a new block, such as a “Classic paragraph,” which is something you can write text in, or a “Header,” which is similar to Outlook and MS Word. There are H1, H2, H3, H4, etc., the lower the number, the bigger the header text. More in section 10.
- A-2 is Undo and Redo buttons
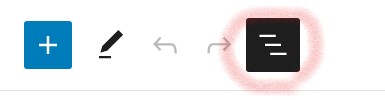
- A-3 is Document Overview, it toggles Area B
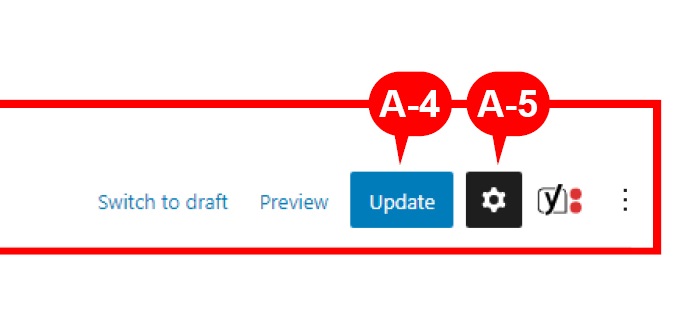
- A-4 is the Update/Save button, equivalent to Saving
- A-5 is the Settings button, toggles Area D
6
Area B (left)
Toggles Area B
Before expanding
⇓
After expanding
⇓
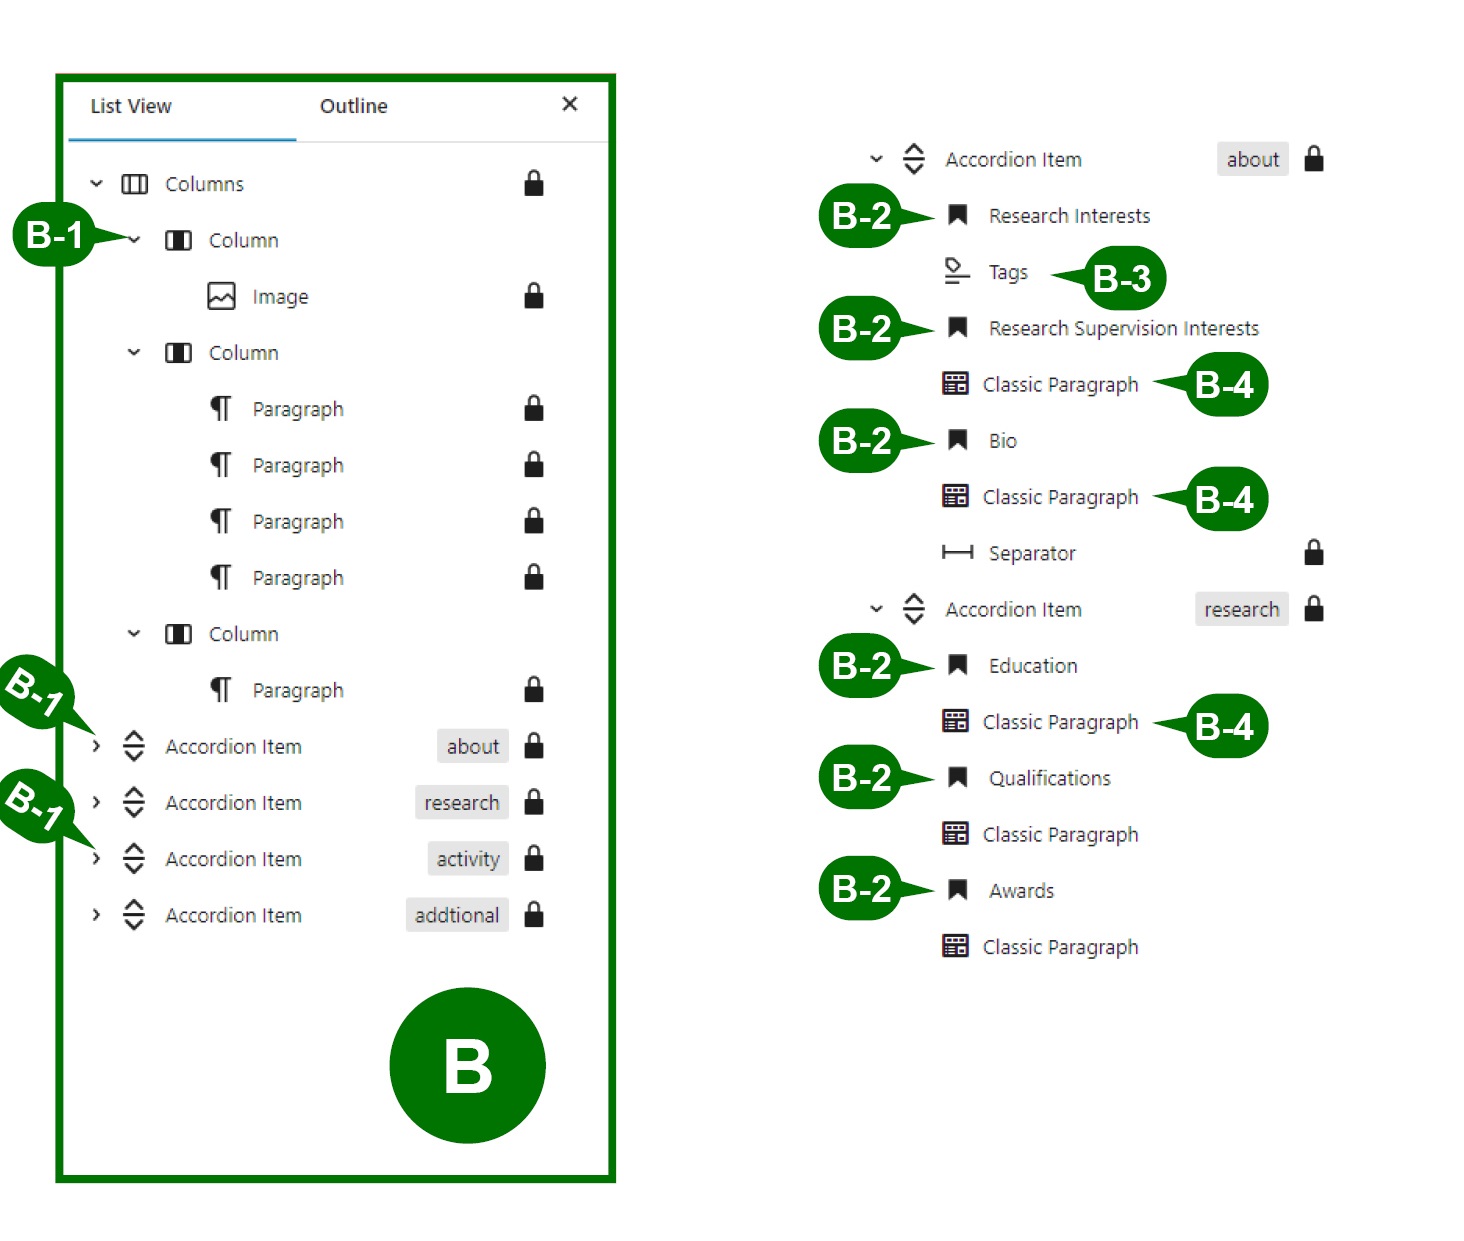
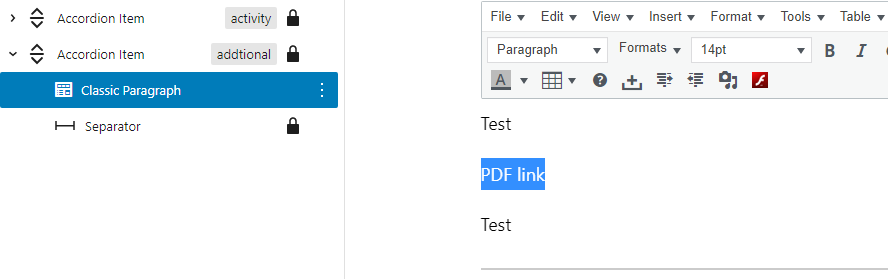
- B-1 expands or hide blocks nested under the upper block
- B-2s are headers, please leave them be
- B-3 is tags, in this context it is used for Research Interests. You can edit it in Area D, under the Page tab on top, and find Tags
- B-4s are Classic Paragraphs, where you’ll do most of your editing
- Click them to select the corresponding block in Area C
- Edit the text in Area C
7
Area C (middle) – Editing text
To edit text
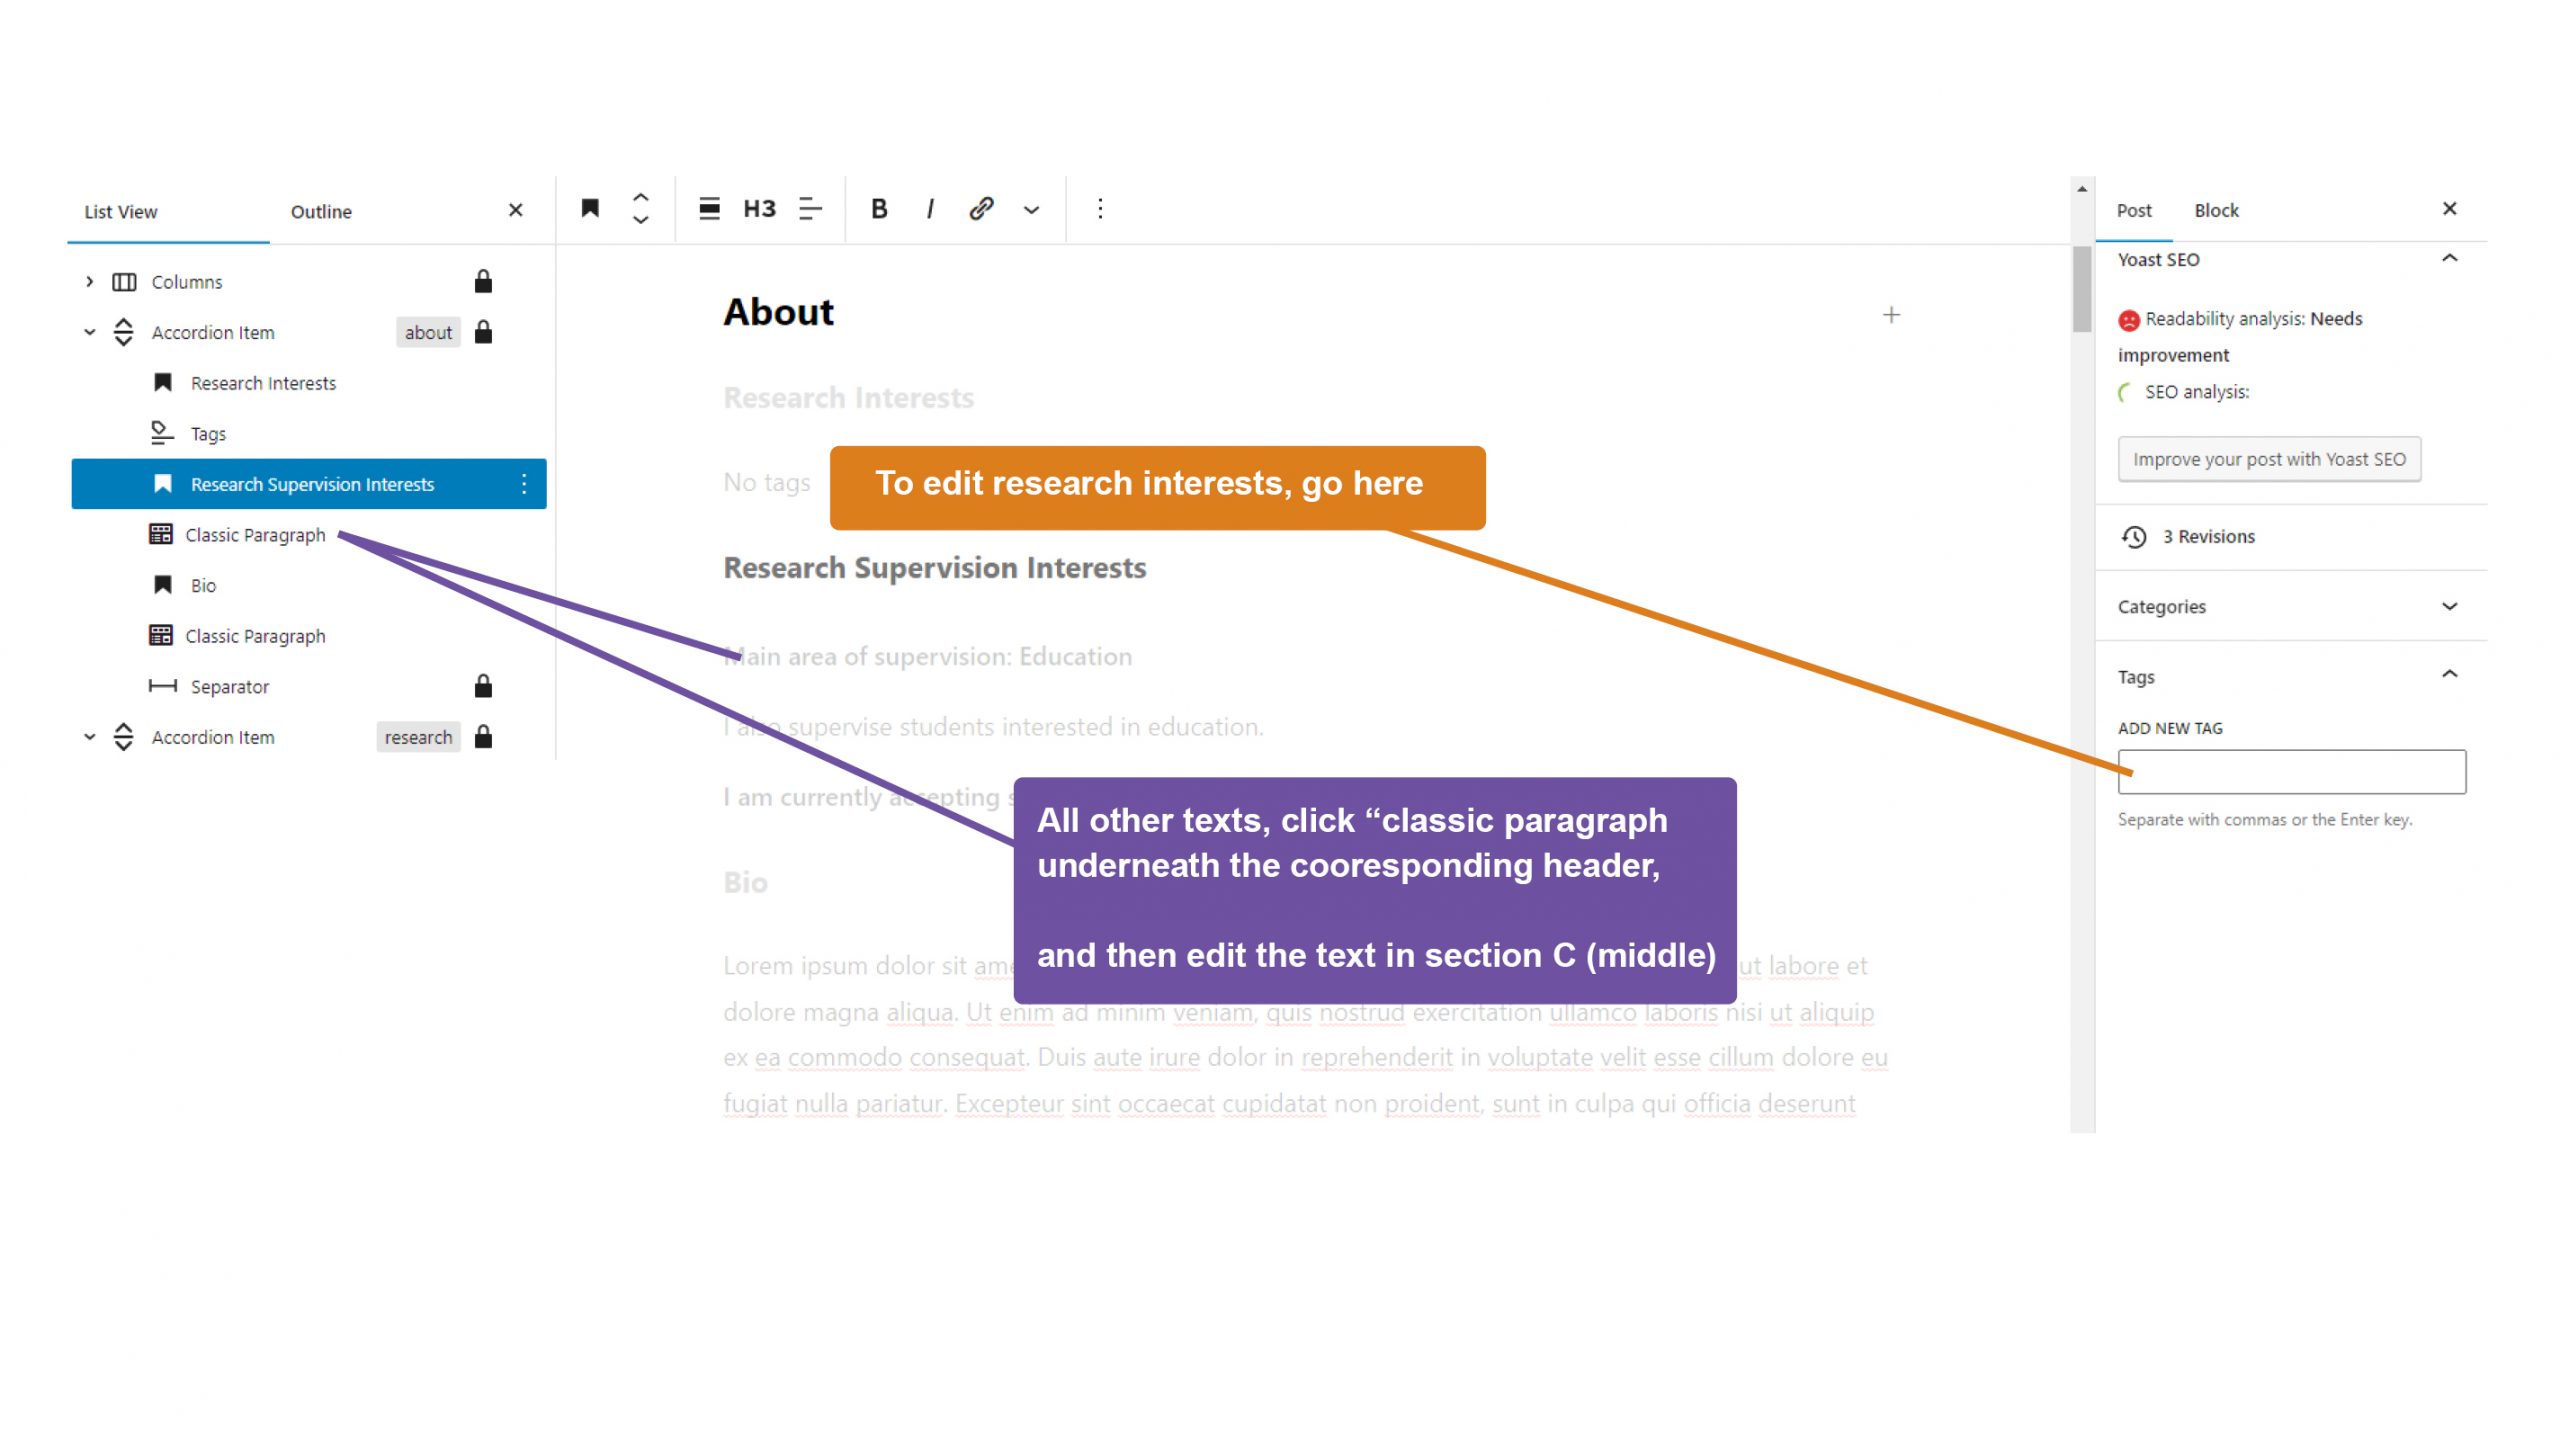
Remember to click Update/Save (A-4) afterwards!
8
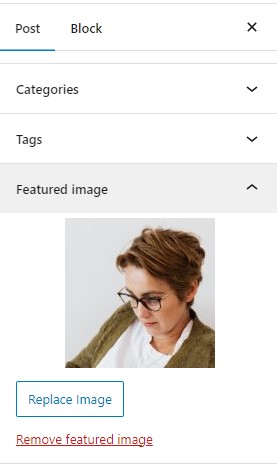
Area D (right)
Toggles Area D
There are 2 tabs, Post and Block
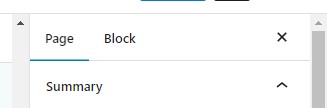
Post: for settings related to your overall Profile page
Block: for settings related to the exact block you clicked on, for example, the text under your Activity heading
9
Photo
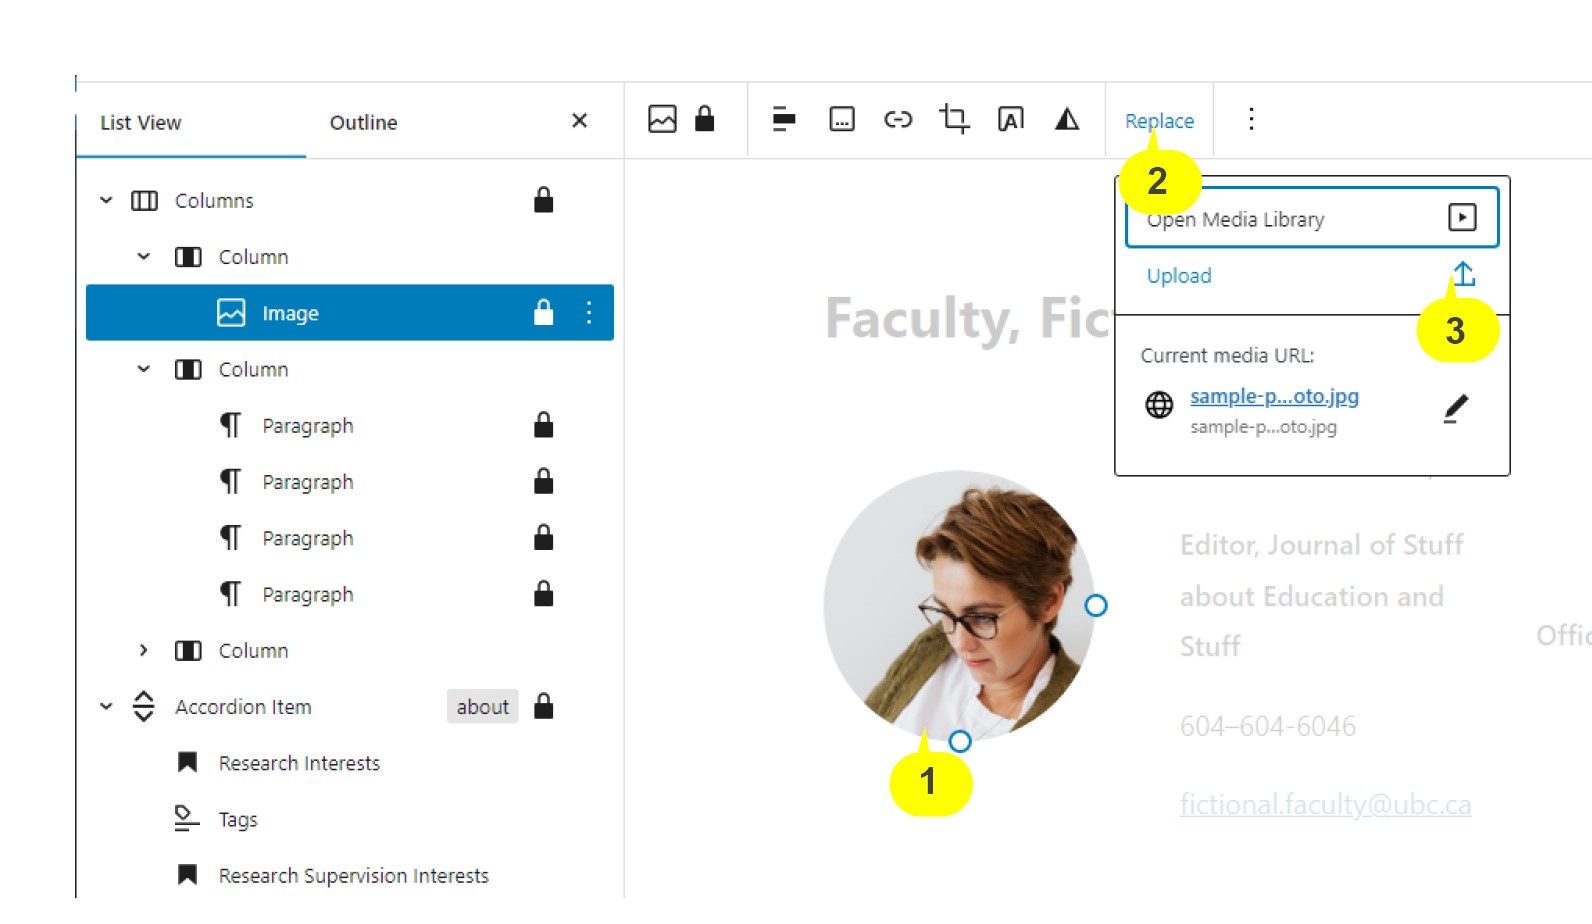
To upload a new photo (do both points below)
Use a square photo! So it stays a circle and not an oval
- On your profile page
- Click the photo image
- Click Replace
- Upload
- (If you don’t see the Replace button, just email carl.luk@ubc.ca)
- On the faculty list page https://edst.educ.ubc.ca/people/faculty/, go to area D (right), make sure the Post tab is selected, click Replace Image
10
Heading
To add a new block, click A-1
For headings, click Heading
For normal text, click Classic Paragraph (not Paragraph)
In Area B, List view, you can drag the block up and down to place them to your desired location.
11
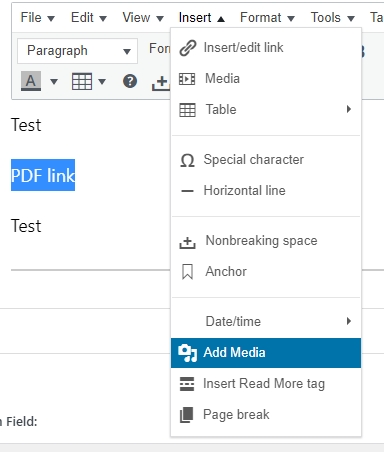
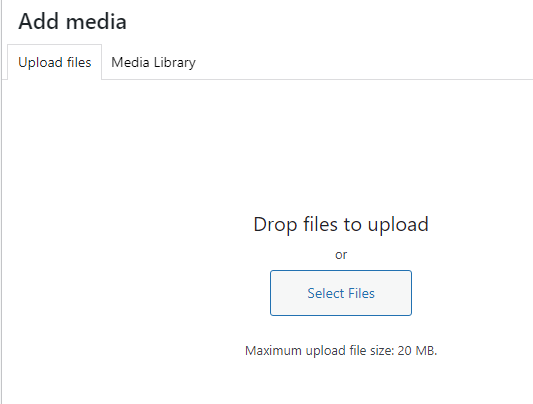
Insert a file
In the textbox “classic paragraph,” click on the space where you want the new file to be.
Insert (menu)
Add Media
- Either drag the file from your computer,
- Or click the Upload files tab, and Click select files
Select the file, OK
Make sure your file has the blue check mark button, if not, click it.
Click Insert into post button.
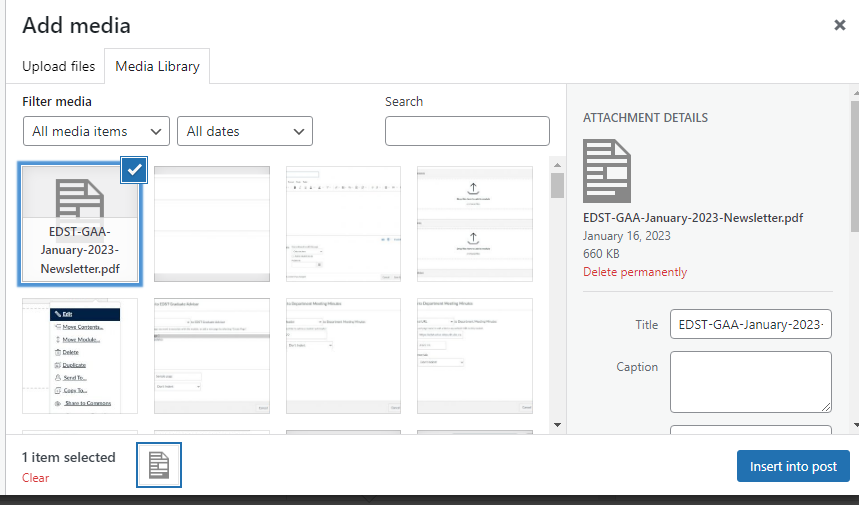
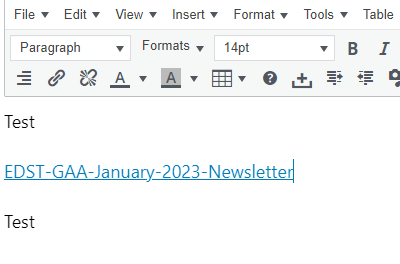
Your file is inserted.
Click update/save in the top right to “save” and publish the changes.
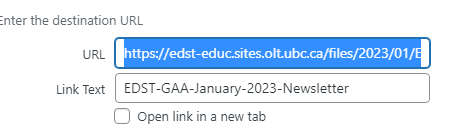
Advanced
To change the link’s attributes.
Click the link.
Click the pencil to edit.
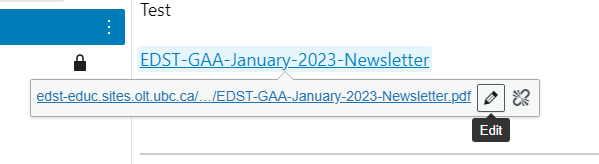
Click the gear.
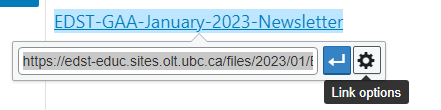
You can change the link text in the Link Text box.
You can also check “Open link in a new tab” (recommended, so when people click on the file link, they don’t leave you page)
Click Update/Save